© 2007-2018 by Zack Smith. All rights reserved.
Weightlifting bench
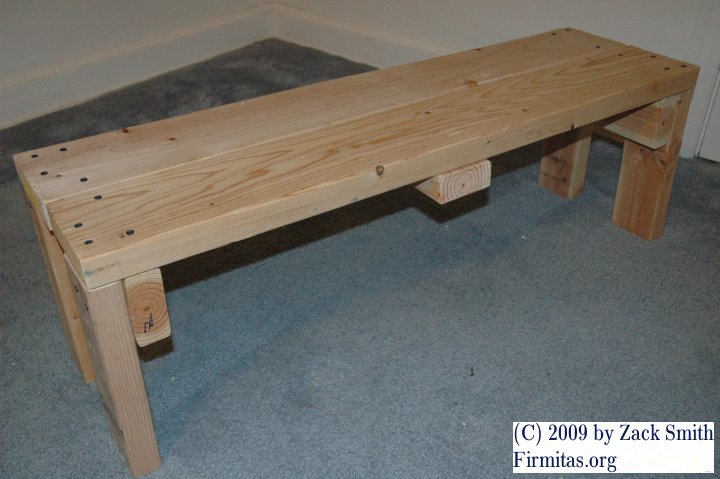
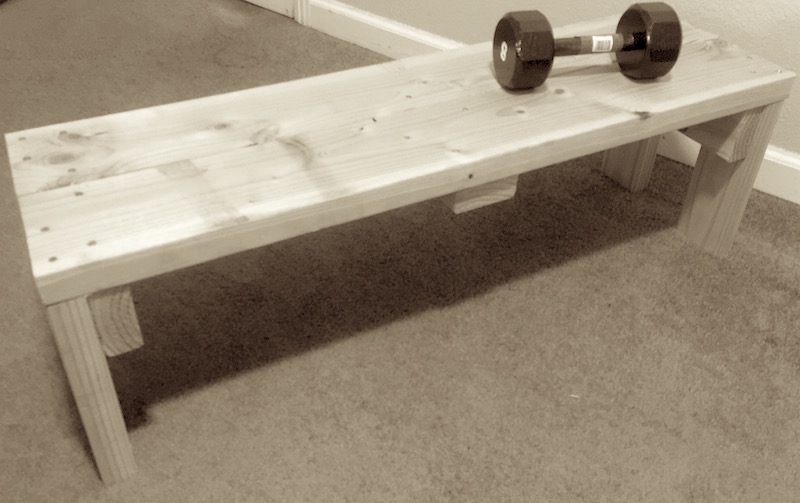
With only 9 pieces of wood and some screws, you can make a basic bench for lifting weights.
Here's the first bench that I made in 2007:
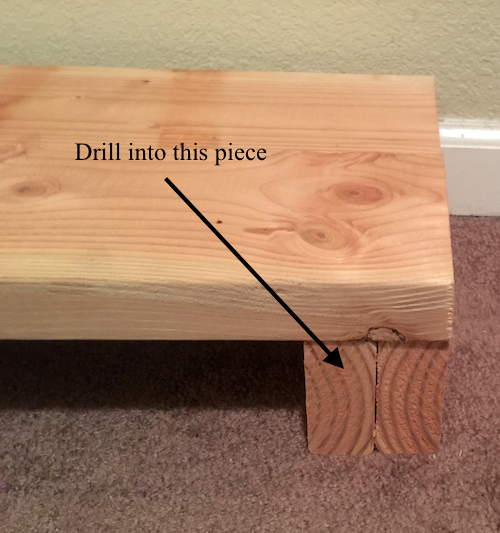
Photo 4: How to line up the wood before putting the legs on.
Second identical bench, make in 2015:
Materials
In 2007, I had some extra wood lying around -- some of it I had actually bought out of the Extras bin at my local Home Depot hardware store for very cheap.
I also needed a weight bench, so rather than spend a large amount of money I decided to make one myself for about a quarter of the cost.
In 2015, after giving away the first one I made a second one.
You'll need:
- Two 2x6 boards, which are actually 5.5 inches by 1.5 inches. Typically these are sold as 8-foot planks, so you can either ask them to cut two 48 inch pieces or something shorter. I chose 40 inches long. If you'll be using this bench for not just weightlifting but also general tasks, longer is probably better. These pices cost me perhaps $8.
- Seven 2x4 segments, 11 inches each. Go to your local Home Depot or similar store and buy one 8 foot 2x4. Ask them to make 7 (or if you like 8) 11-inch segments. Or, you could ask for three 11-inch segments (the cross beams) and four 12-inch segments (the legs). As you prefer... This cost me about $5 plus the cost of the cuts.
- Around 32 screws.
They can be deck screws, drywall screws or general purpose
gold
wood screws, either 3 inches or 2.5 inches length. I bought a 1 pound box for $6.
Total cost should be something like $20.
Procedure
- Cut all wood pieces to the proper lengths. Let the people at Home Depot (etc.) cut them for you if you lack the proper equipment.
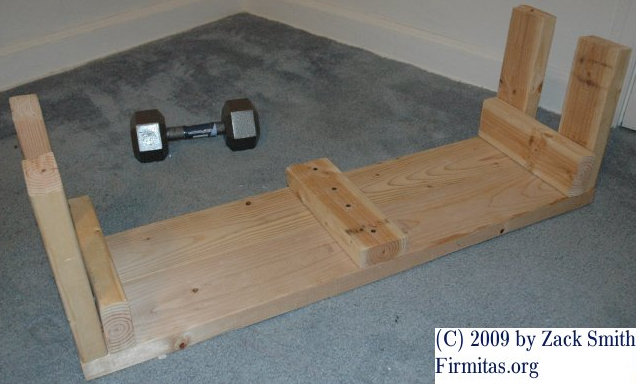
- Stabilize the two pieces constituting the top of the bench by attaching the central cross-beam (see photos). Use at least 4 screws.
- Turn the boards over. Place two 11-inch pieces under each end for stability. Put at least 2 additional screws in through the top of the boards into the central stabilizing piece.
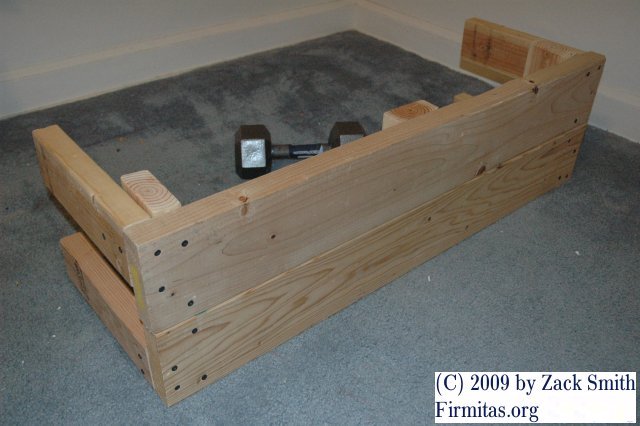
- At each end of the boards, position two 11-inch pieces perpendicular to the boards' length and not flat against the underside but rather up. (See photo 4. Use screws to stabilize the inner 11-inch pieces. (The outer pieces will be removed.
- Attach the legs next. Be very careful to make sure they are perfectly perpendicular with the bench top. Do this on a surface that is flat and hard (not a carpet). For stability put one end of the bench up against a wall. Then put in the vertical screws down through the boards into the tops of the legs. Then put in screws through the legs into the 11-inch cross beams.
- Reinforce everything with more screws.
If this bench is built correctly, with lots of screws for stability, it could be strong enough and stable enough to stand on. If you don't use at least 30 screws, don't expect stability.
Disclaimer
Proceed at your own risk! I accept no responsibility for any injury or any other problem arising from the use or construction of this bench design or the included instructions.
