© 2007-2018 by Zack Smith. All rights reserved.
My book and iPad holder/stand
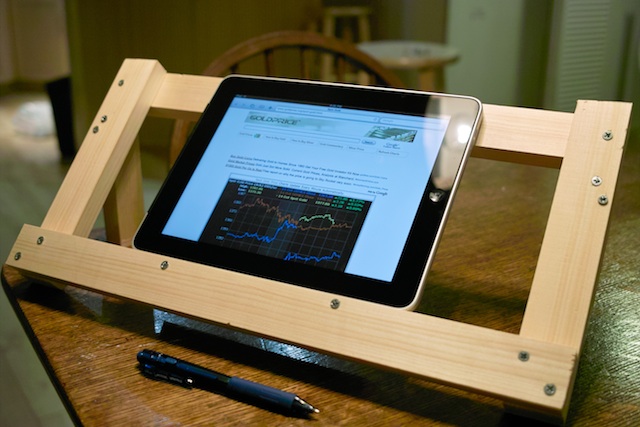
After seeing people in cafes with metal bookstands conveniently not straining their backs hunched over while reading, I decided to make my own book stand for home use. I've made three so far. The latest one also accommodates my iPad quite well.
The total cost including wood and screws is perhaps US $5. Tools required are an electric drill, screwdriver, mitre box, and hand saw or preferably an electric table saw.
The design
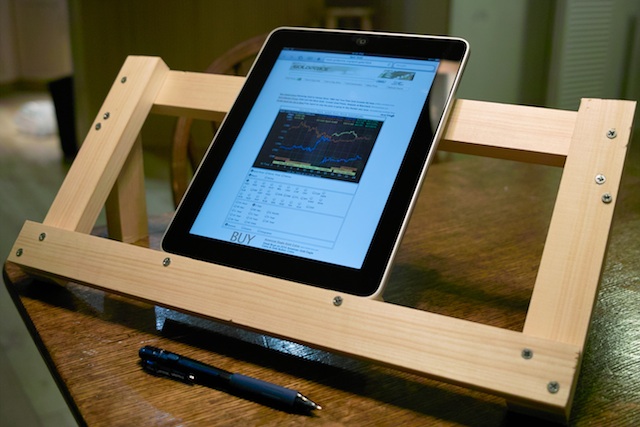
When I got an iPad I decided to make a new stand for both books and the iPad. I have sinc discovered this book stand design achieves just the right angle for the iPad. It's not quite as steep as 45 degrees, which is good because the angle is just right so that you don't constantly see yourself on the screen's reflective surface.
I've also since made a narrower stand just for the iPad. It's 14 inches wide instead of 18, and is here:
Click to enlarge
Materials
- Two 18 inches long pieces of 1.5 inches x 3/4 inches wood to serve as the wide/horizontal beams. (Or 14 inches for the iPad-specific stand.
- Two 9 inches long pieces of same, to serve as the side/vertical members.
- Two 5.5 inches pieces of same, to serve as feet. Cut them at 45 degrees using a mitre box where they will connect to the stand.
- One 7 inches pieces of same. This piece must support an iPad in landscape orientation, hence the length.
- Fourteen 1.5 inches wood screws.
Procedure
For each wood screw, be sure to predrill the hole. You can optionally add wood glue between wood pieces before tightening screws for added strength.
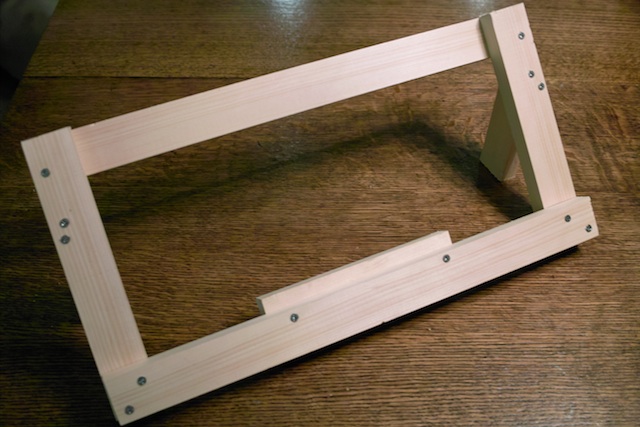
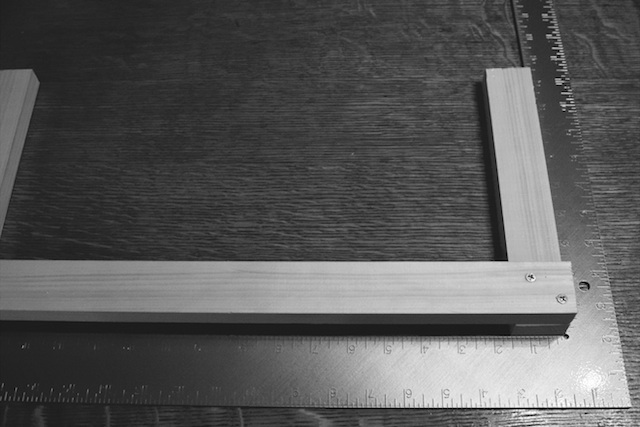
- Use a T-square to achieve a 90 degree angle between the bottom wide piece and each of the two side pieces. Drill their holes and insert screws.
- Mark each of these two side pieces 7.5 inches away from the bottom wide piece.
- Connect the top wide piece to the two vertical pieces starting at the 7.5 inch marks, but connect it to the other side of the side pieces (see photos). Drill them and insert screws.
- Now cut the 45 degree angle of the feet using a mitre box.
- Prepare to attach the feet with 2 screws each for strength. This may require adjusting the feet pieces to take off a quarter-inch or from the 90-degree end. Then drill them and insert screws.
- Center the 7-inch piece along the bottom behind the bottom wide piece. Let it protrude from behind about a half inch. Drill a holes and insert a screw at one end and then do the other.
That's it! You can stain and seal it if you want, however it's not really necessary.


